Understanding Ductless Mini-Split Installation
What is a Ductless Mini-Split System?
A ductless mini-split system is a type of heating and cooling solution that allows for temperature control in individual rooms or zones without the need for ductwork. This system consists of two main components: an outdoor compressor/condenser unit and one or more indoor air-handling units. The units are connected by refrigerant lines that provide flexibility in terms of installation and design, making them ideal for both new construction and retrofitting existing spaces. As a solution, ductless mini-split installation has gained popularity due to its efficiency and ease of use.
Advantages of Installing Ductless Mini-Split Systems
The benefits of ductless mini-split systems stretch beyond mere versatility. Here are several compelling advantages:
- Energy Efficiency: Ductless mini-split systems are generally more energy-efficient than traditional HVAC systems. They typically feature higher Seasonal Energy Efficiency Ratios (SEER), which translate to lower energy bills through reduced energy consumption.
- Zone Control: These systems allow you to adjust the temperature in individual rooms, which is particularly advantageous for multi-family homes or buildings with different occupancy needs.
- Easy Installation: The absence of ducts simplifies the installation process. The refrigerant lines require only a small hole in the exterior wall, minimizing disruption to the home or building.
- Quiet Operation: Many models operate quietly, making them a suitable option for bedrooms, schools, and offices where noise can be a concern.
- Year-Round Comfort: Not only do these systems cool spaces during hot months, but many also provide heating during colder seasons through heat pump technology.
Key Components of Ductless Mini-Split Installation
Running the implementation of ductless mini-split systems requires a thorough understanding of its key components:
- Indoor Unit: The air-handling unit hangs on a wall or ceiling and distributes air across the room, often equipped with filters for improved air quality.
- Outdoor Unit: This unit houses the compressor and condenser and is responsible for heat exchange. It’s usually placed on a concrete pad or mounted to a wall.
- Refrigerant Lines: These insulated lines transport refrigerant to and from the indoor and outdoor units, crucial for the system’s operation.
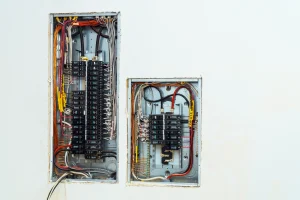
- Electrical Wiring: Proper wiring connects the indoor and outdoor units to power sources, allowing the system to operate efficiently.
Planning Your Ductless Mini-Split Installation
Site Assessment for Optimal Installation
Before installation, a comprehensive site assessment is crucial. Professionals typically evaluate the following factors:
- Room Size: Accurate measurement of the space ensures the selected mini-split system matches the cooling and heating requirements.
- Insulation Quality: Homes with high insulation may require smaller units, while poorly insulated areas may need more robust systems.
- Orientation and Sunlight: Rooms that receive a lot of sunlight may require additional cooling capacity, while shaded areas may need less.
Selecting the Right Mini-Split System
Choosing the right unit depends on several factors, including:
- Capacity Rating (BTUs): Evaluation of the British Thermal Units (BTU) required for efficient cooling or heating.
- Type of unit: Options range from wall-mounted to ceiling cassettes or floor-mounted units, each offering distinct advantages based on aesthetics and functional space.
- Multi-Zone or Single-Zone: Whether a single unit can service multiple areas or if individual units are needed in different rooms.
Determining Installation Costs
The initial cost of ductless mini-split installation can vary widely based on numerous factors, including:
- Number of Units: More units incur higher installation costs. For multi-zone systems, consider the cost-per-zone.
- Location and Accessibility: Difficult-to-access locations might require more labor, impacting final costs.
- Particular Brand and Model: Advanced or high-efficiency models usually come with a higher price tag, but they can lead to lower operating costs over time.
Step-by-Step Ductless Mini-Split Installation Guide
Preparing the Installation Site
Proper preparation is crucial for successful installation. This phase encompasses:
- Clearances: Ensuring there’s sufficient room around both indoor and outdoor units for airflow and maintenance.
- Access to Power: Identifying nearby electrical outlets to minimize wiring complications.
- Paddock Installation: Ensuring that the outdoor unit is on a stable, level surface to prevent flooding and debris accumulation.
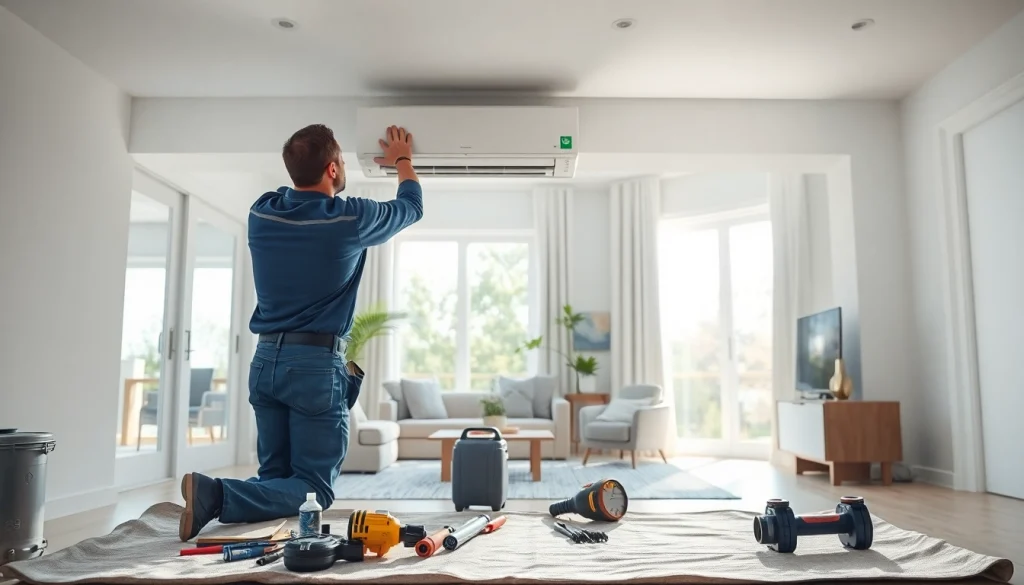
Mounting the Indoor and Outdoor Units
Follow these steps for secure mounting:
- Indoor Unit: Utilize a mounting bracket attached securely to the wall, ensuring it is level for proper drainage.
- Outdoor Unit: Position the unit on a leveled surface, ensuring that there’s adequate airflow, typically at least 4 inches from any wall or obstruction.
Connecting Refrigerant Lines and Electrical Wiring
The efficiency of a ductless mini-split system heavily relies on proper refrigerant line connections. Here’s how:
- Line Installation: Insulated copper pipes transport refrigerant between the units. Adequate sealing is essential to prevent leaks.
- Electrical Wiring: Connect the units ensuring the circuit meets the manufacturer’s specifications. A dedicated circuit is often recommended.
Common Challenges in Ductless Mini-Split Installation
Dealing with Space Limitations
Space constraints can complicate the installation. Solutions include:
- Compact Units: Choosing smaller indoor units can alleviate some spatial challenges in tight areas.
- Placement Strategy: Optimal positioning of indoor units to ensure air circulation while considering furniture and fixtures in a room.
Addressing Noise Concerns
Although ductless mini-split systems operate quietly, noise concerns can arise. Solutions involve:
- Proper Installation: Ensuring secure mountings may reduce vibrations that lead to increased noise.
- Choosing Quieter Units: Some models are specifically designed with noise reduction technology, which can further minimize disturbances.
Overcoming Installation Code Compliance Issues
Compliance with local building codes is essential for a successful installation. Here’s how to address potential issues:
- Research Zone Regulations: Understanding local HVAC codes regarding installation practices can prevent costly errors.
- Consult with Professionals: Engaging a certified technician for installation often ensures compliance with safety and efficiency standards.
FAQs About Ductless Mini-Split Installation
How long does ductless mini-split installation take?
The installation process typically takes several hours, depending on the complexity of the setup and the number of units being installed.
What maintenance is required for ductless mini-split systems?
Routine maintenance involves cleaning filters, checking refrigerant levels, and ensuring the outdoor unit is free from debris for optimal performance.
Can ductless mini-split systems heat and cool?
Yes, ductless mini-split systems provide both heating and cooling capabilities, making them versatile for year-round comfort.
Are ductless mini-split systems energy efficient?
Yes, they are highly energy-efficient compared to traditional HVAC systems, often featuring SEER ratings above 20.
What size ductless mini-split do I need?
Sizing depends on the room’s square footage, insulation quality, and climate. Consulting an HVAC professional ensures the right capacity.