
Understanding Ductless Mini-Split Installation
Ductless mini-split systems have gained popularity as an efficient solution for heating and cooling various spaces, particularly in homes without ductwork. These systems not only offer flexibility and convenience but also provide an energy-efficient alternative to traditional HVAC systems. To ensure that you benefit fully from a ductless system, proper installation is critical. In this article, we will cover every essential aspect of ductless mini-split installation, from understanding what a mini-split system is to performing effective post-installation maintenance.
What is a Ductless Mini-Split System?
A ductless mini-split system is an air conditioning and heating system that comprises two main components: an outdoor condenser unit and one or more indoor air handling units. The system operates using refrigerant lines, allowing for efficient heating and cooling without the need for ductwork. Mini-splits are versatile, allowing homeowners to control the temperature in different rooms individually, which can lead to significant energy savings.
Key Components of Ductless Mini-Split Installation
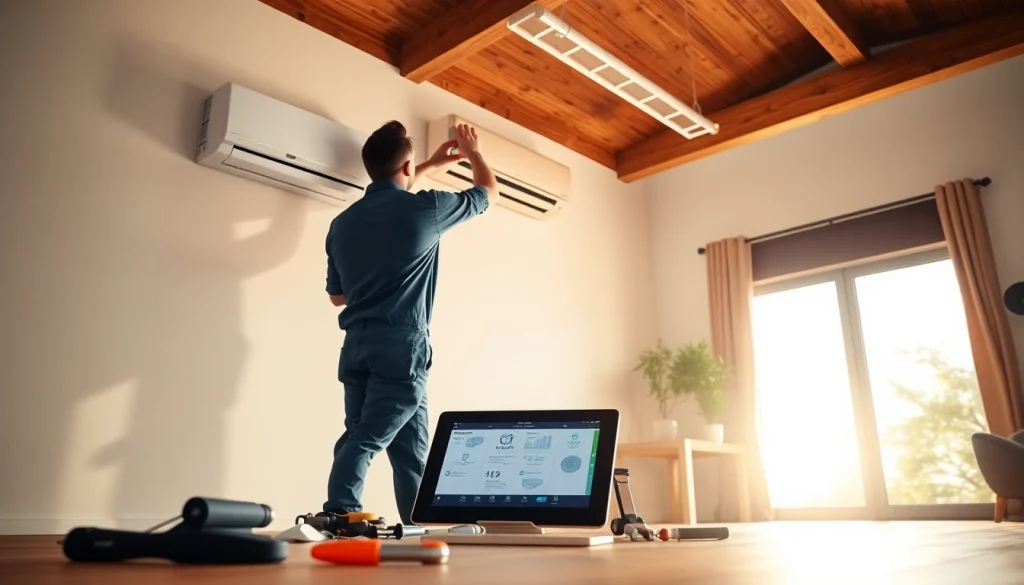
- Indoor Unit: This part is installed inside the home and is responsible for distributing conditioned air. Indoor units come in various styles, such as wall-mounted, ceiling-mounted, or floor-mounted, giving you options based on your space and preferences.
- Outdoor Unit: The outdoor unit houses the compressor and is positioned outside the home. It absorbs heat from the outside air (even in cold weather) and sends it indoors. It is essential for the overall efficiency of the system.
- Refrigerant Lines: These lines connect the indoor and outdoor units, allowing refrigerant to flow between them. Proper insulation and installation of these lines are crucial to maintain efficiency.
- Mounting Hardware: Essential for the secure installation of units and includes brackets, screws, and mounting plates.
- Electrical Connections: These are necessary to connect your system to your home’s electrical supply and are vital for its operation.
Benefits of Ductless Mini-Split Systems
Ductless mini-split systems offer a range of advantages:
- Energy Efficiency: They consume less energy compared to traditional HVAC units, which can lead to lower utility bills.
- Zone Control: Each indoor unit can be controlled independently, allowing for personalized climate control in various spaces.
- Easy Installation: The absence of ductwork simplifies installation processes, making it less invasive and quicker.
- Improved Air Quality: Ductless systems feature high-quality filters that can reduce allergens and pollutants in the air.
- Heating and Cooling: They provide both heating and cooling functions, ensuring year-round comfort.
Preparation for Installation
Before undertaking the installation of a ductless mini-split system, careful preparation is necessary to guarantee that the installation is smooth and efficient.
Assessing Your Home’s Compatibility
One of the first steps in preparing for installation is assessing your home’s compatibility with a ductless mini-split system. This includes checking:
- Insulation: Proper insulation ensures that your system will operate efficiently.
- Space Availability: Ensure there is sufficient space both indoors and outdoors for the installation of the units.
- Electrical Requirements: Verify that your home’s electrical system can handle the additional load.
Choosing the Right Ductless Mini-Split Model
Choosing the right model is essential for maximizing efficiency and comfort. Considerations include:
- BTU Rating: The cooling and heating capacity should match the size of the space.
- Multi-Zone vs. Single Zone: Decide if you need a system that can heat or cool multiple rooms.
- Features: Look for energy-saving features like inverter technology that can adjust motor speed for improved efficiency.
Gathering Necessary Tools and Materials
To ensure a seamless installation process, gather all necessary tools and materials beforehand. Common tools and materials include:
- Drill
- Screwdriver set
- Pipe cutter
- Refrigerant lines
- Electrical wiring and connectors
- Mounting brackets
- Insulation tape
Step-by-Step Installation Process
Embarking on the ductless mini-split installation process can seem daunting, but by following systematic steps, it becomes a manageable project.
Mounting the Indoor Unit Effectively
The indoor unit needs to be mounted on a wall or ceiling where it can efficiently distribute air. Consider the following:
- Height: Install the indoor unit at a height that allows for optimal air flow.
- Clearance: Ensure that there is adequate clearance around the unit for proper operation.
- Secure Installation: Use appropriate brackets and fasteners for secure mounting.
Setting Up the Outdoor Condenser
The outdoor unit must be installed in a location that allows for easy airflow and maintenance. Key considerations include:
- Location: Place the unit in a shaded area if possible to enhance efficiency.
- Leveling: Ensure the unit is installed on a flat surface to prevent operational issues.
- Clearance: Maintain adequate clearance around the unit for air circulation and servicing.
Connecting Refrigerant Lines and Wiring
After mounting the units, the next step involves connecting refrigerant lines and electrical wiring. Follow these instructions:
- Refrigerant Lines: Cut the lines to the appropriate length, ensuring that there are no kinks. Use proper insulation to cover them.
- Electrical Connections: Connect the indoor and outdoor units to the electrical supply, adhering to local codes and regulations.
- Vacuuming Lines: Before charging with refrigerant, ensure to vacuum the lines to remove any air and moisture.
Post-Installation Best Practices
Once the installation is complete, follow best practices to confirm that your system functions optimally.
Initial System Testing and Calibration
Testing the system after installation is crucial. Begin by:
- Turning on the system to check for functionality.
- Calibrating temperature settings to ensure even heating or cooling.
- Listening for unusual noises that may indicate installation issues.
Regular Maintenance for Optimal Performance
To sustain the performance of your ductless mini-split system, regular maintenance is essential. Key maintenance tips include:
- Cleaning the filters monthly to maintain airflow.
- Inspecting refrigerant lines and connections regularly for leaks.
- Scheduling professional maintenance annually to check overall system health.
Troubleshooting Common Installation Issues
Even with careful installation, issues may arise. Common problems and solutions include:
- Insufficient Cooling or Heating: Check for incorrect refrigerant charges or blockages in the air flow.
- Noisy Operation: Ensure that the units are securely mounted and check for any loose parts.
- Electrical Issues: Verify that all electrical connections are secure and meet local regulations.
Frequently Asked Questions About Ductless Mini-Split Installation
How long does ductless mini-split installation take?
Installation typically takes around 4 to 8 hours, depending on the system’s complexity and the number of units being installed.
Is professional installation necessary for ductless mini-splits?
While DIY installation is possible, professional installation ensures proper setup, adherence to codes, and retains warranty validity.
Can ductless mini-splits heat a room as well?
Yes, ductless mini-splits are designed to provide both heating and cooling, efficiently ensuring year-round comfort in any space.
What maintenance is required for ductless systems?
Maintaining ductless systems includes regular cleaning of filters and scheduling annual professional service checks for optimal performance.
Are ductless mini-splits energy efficient?
Yes, ductless mini-splits are highly energy-efficient and can significantly reduce energy costs compared to traditional HVAC systems.